Homemade crunch bars are the kind of recipe that feels nostalgic and modern at the same time. They capture the unmistakable texture and flavor of a classic chocolate candy bar while using simple pantry ingredients and a no-bake method that makes them accessible to anyone, regardless of baking experience. These bars strike the perfect balance between crispy, creamy, and rich, delivering a fudgy bite with just enough crunch to keep you coming back for more.
What makes these homemade crunch bars especially appealing is their versatility. They fit seamlessly into a clean-eating lifestyle, a family-friendly dessert rotation, or a quick homemade snack solution when cravings hit. With no oven required and minimal prep time, they’re ideal for busy households, meal-prep enthusiasts, and anyone searching for easy dessert recipes that don’t sacrifice flavor.
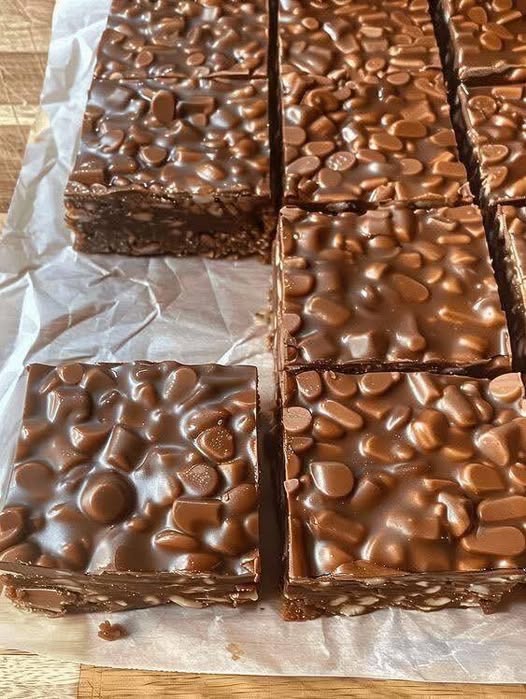
At the heart of this recipe is a blend of melted chocolate, peanut butter, maple syrup, and coconut oil. Together, these ingredients create a smooth, glossy mixture that coats each piece of crispy rice cereal evenly. Once chilled, the bars firm up into a satisfying, sliceable treat that looks polished enough for entertaining but casual enough for everyday snacking.
Crispy rice cereal provides the signature crunch that defines this dessert. Its light, airy texture contrasts beautifully with the dense chocolate base, creating a bite that feels indulgent without being overly heavy. Using a high-quality cereal ensures consistent crunch and prevents sogginess, which is key to achieving that classic candy-bar texture at home.
The chocolate component plays a starring role, and using good-quality chocolate chips makes a noticeable difference. Semi-sweet or dark chocolate chips work especially well, offering depth and richness without overwhelming sweetness. This choice also appeals to those looking for desserts with a more balanced flavor profile, aligning well with trends in gourmet homemade treats and elevated comfort food.
Peanut butter adds creaminess and structure while enhancing the chocolate flavor. Natural peanut butter works beautifully, but this recipe is flexible enough to accommodate almond butter, cashew butter, or sunflower seed butter. That adaptability makes these bars suitable for different dietary preferences, including dairy-free and vegan dessert options when paired with appropriate chocolate.
Maple syrup provides natural sweetness and a subtle caramel-like note that complements the chocolate. Unlike refined sugar, maple syrup blends smoothly into the melted mixture, contributing to a soft, fudgy consistency once the bars set. This makes the recipe appealing to those seeking naturally sweetened desserts or better-for-you snack ideas without artificial additives.
Coconut oil acts as a stabilizer, helping the bars firm up when chilled while adding a faint hint of richness. Grass-fed butter can be used as an alternative, offering a slightly creamier texture and a more traditional flavor. Both options work well, allowing you to customize the bars based on taste preferences and dietary needs.
To prepare the bars, begin by lining an 8×8-inch baking dish with parchment paper. This step is essential for easy removal and clean slicing later. The parchment paper creates a smooth surface and prevents sticking, ensuring the bars maintain their shape and presentation. Pour the crispy rice cereal into a large mixing bowl and set it aside, ready to receive the chocolate mixture.
Next, melt the chocolate chips, peanut butter, maple syrup, and coconut oil together. This can be done gently in a microwave-safe bowl or over low heat on the stovetop. The key is slow, even heating to avoid scorching the chocolate. Once melted, whisk the mixture thoroughly until it becomes smooth, glossy, and fully incorporated.
Pour the warm chocolate mixture over the crispy rice cereal, stirring carefully to coat every piece evenly. This step is where texture matters most. Taking the time to mix thoroughly ensures that each bite delivers the perfect balance of crunch and chocolate. Once combined, transfer the mixture into the prepared baking dish and press it down gently with a spatula to create an even layer.
Refrigerate the dish for at least one hour, allowing the bars to firm up completely. As they chill, the chocolate mixture sets, locking the cereal into place and creating a sliceable texture similar to store-bought candy bars. Once firm, lift the slab out using the parchment paper and cut it into evenly sized bars.
These homemade crunch bars store exceptionally well, making them ideal for meal prep and make-ahead desserts. At room temperature, they stay fresh for up to two weeks when kept in an airtight container. For longer storage, they freeze beautifully for up to six months. Wrapping individual bars in parchment paper before freezing makes them easy to grab and enjoy whenever a chocolate craving strikes.