Maintaining the radiant allure of a jewelry collection does not necessitate a significant financial investment in specialized commercial solvents or frequent, time-consuming trips to a professional jeweler. Over time, even the most cherished pieces—whether crafted from sterling silver, gold-filled alloys, brass, or German silver—inevitably succumb to the dulling effects of the environment. Oxidation, humidity, and constant exposure to the ambient air are the primary culprits behind tarnish. Furthermore, the very products we use to enhance our own beauty, such as moisturizing lotions, expensive perfumes, and hairsprays, often leave behind a microscopic film of residue that traps grime and accelerates the loss of luster. This gradual transition from brilliance to a matte, aged appearance can make precious heirlooms look neglected, but this state is far from permanent. Restoring that original, eye-catching spark is an achievable feat using a scientific approach and common household staples.
The most effective DIY restoration method relies on a fascinating chemical process known as an electrochemical reaction. By utilizing salt, baking soda, mild dish soap, aluminum foil, and near-boiling water, you can create a high-performance cleaning environment that lifts tarnish without the need for aggressive scrubbing or toxic chemicals.1 This process is particularly effective for silver, which tarnishes when it reacts with sulfur in the air to create silver sulfide.2+1
The science behind this involves the aluminum foil acting as a “sacrificial” metal.3 In the presence of a heated electrolytic solution—created by the salt and baking soda—the sulfur atoms that cause the black tarnish on your silver are chemically attracted to the aluminum. Essentially, the tarnish “jumps” from the jewelry to the foil. The addition of dish soap serves a secondary but vital purpose: it acts as a surfactant, breaking down the surface tension of oils and organic residues, allowing the water to penetrate every intricate engraving and setting.
To implement this at home, begin by selecting a glass or ceramic bowl. It is crucial to line the interior of the vessel completely with a sheet of aluminum foil, ensuring that the reflective, shiny side is facing upward. This orientation maximizes the surface area available for the chemical exchange. While the bowl is being prepared, heat a sufficient amount of water—roughly one to two cups—until it is just below the boiling point. Carefully pour the hot water into the lined bowl, then introduce one tablespoon of iodized salt and one tablespoon of baking soda. Stir the mixture thoroughly until the granules are completely dissolved and the water appears clear. Finally, add two or three drops of a standard grease-cutting dish soap.
Before submerging your collection, it is vital to perform a quick audit of the materials. This specific electrochemical method is a powerhouse for metals, but it can be hazardous to certain organic or delicate components. Pieces featuring porous stones like opals, turquoise, or pearls, as well as jewelry with glued-in “foil-back” rhinestones, should avoid this hot-water immersion. The heat can expand the air behind a stone and pop it out of its setting, or dissolve the water-based glues used in vintage costume jewelry.
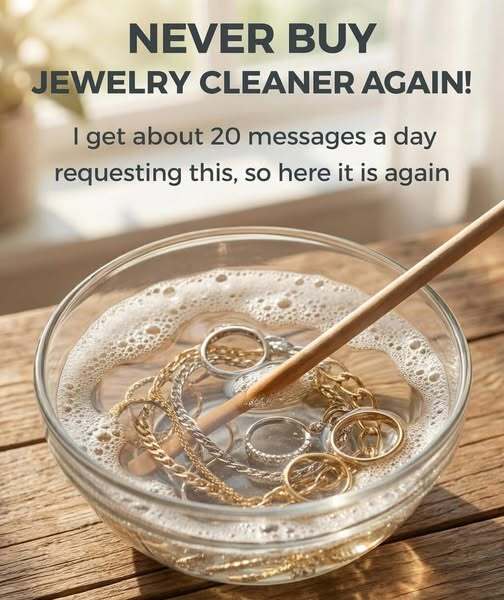
For robust metal pieces, gently place them into the solution. The key to success here is physical contact: each item must touch the aluminum foil to complete the “circuit” required for the ion transfer. Almost immediately, you may observe the formation of tiny bubbles or a faint, sulfurous odor similar to boiled eggs. This is a positive sign; it confirms that the silver sulfide is being converted back into metallic silver while the sulfur is being released into the water. For lightly oxidized pieces, a mere two to three minutes of immersion is often sufficient. For antique finds or heavily blackened silver, a soak of up to ten minutes may be required to fully break down the accumulated layers of oxidation.